
DIY STAMPED WRAPPING PAPER

Ok, I have a little secret for you. It's actually not really a secret (and no I'm not pregnant!)...more of a confession...
I am hopeless at DIYs.
Ok, I shouldn't be sooo dramatic but the truth is, I'm not a massive crafter. When it comes to creating things, my process is messy not pretty. It actually states that in my strengthsfinder write up, ha!
So when it comes to DIY (and anything style) I call up the Asian Martha Stewart aka my bestie aka RACHEL! Rachel is a craft guru and styling guru and home decor guru ok LIFE GURU.
So I asked Rachel what we should make and she suggest stamped wrapping paper...yaaay!
It's not that difficult to make, you just need a few supplies and some time on your hands.
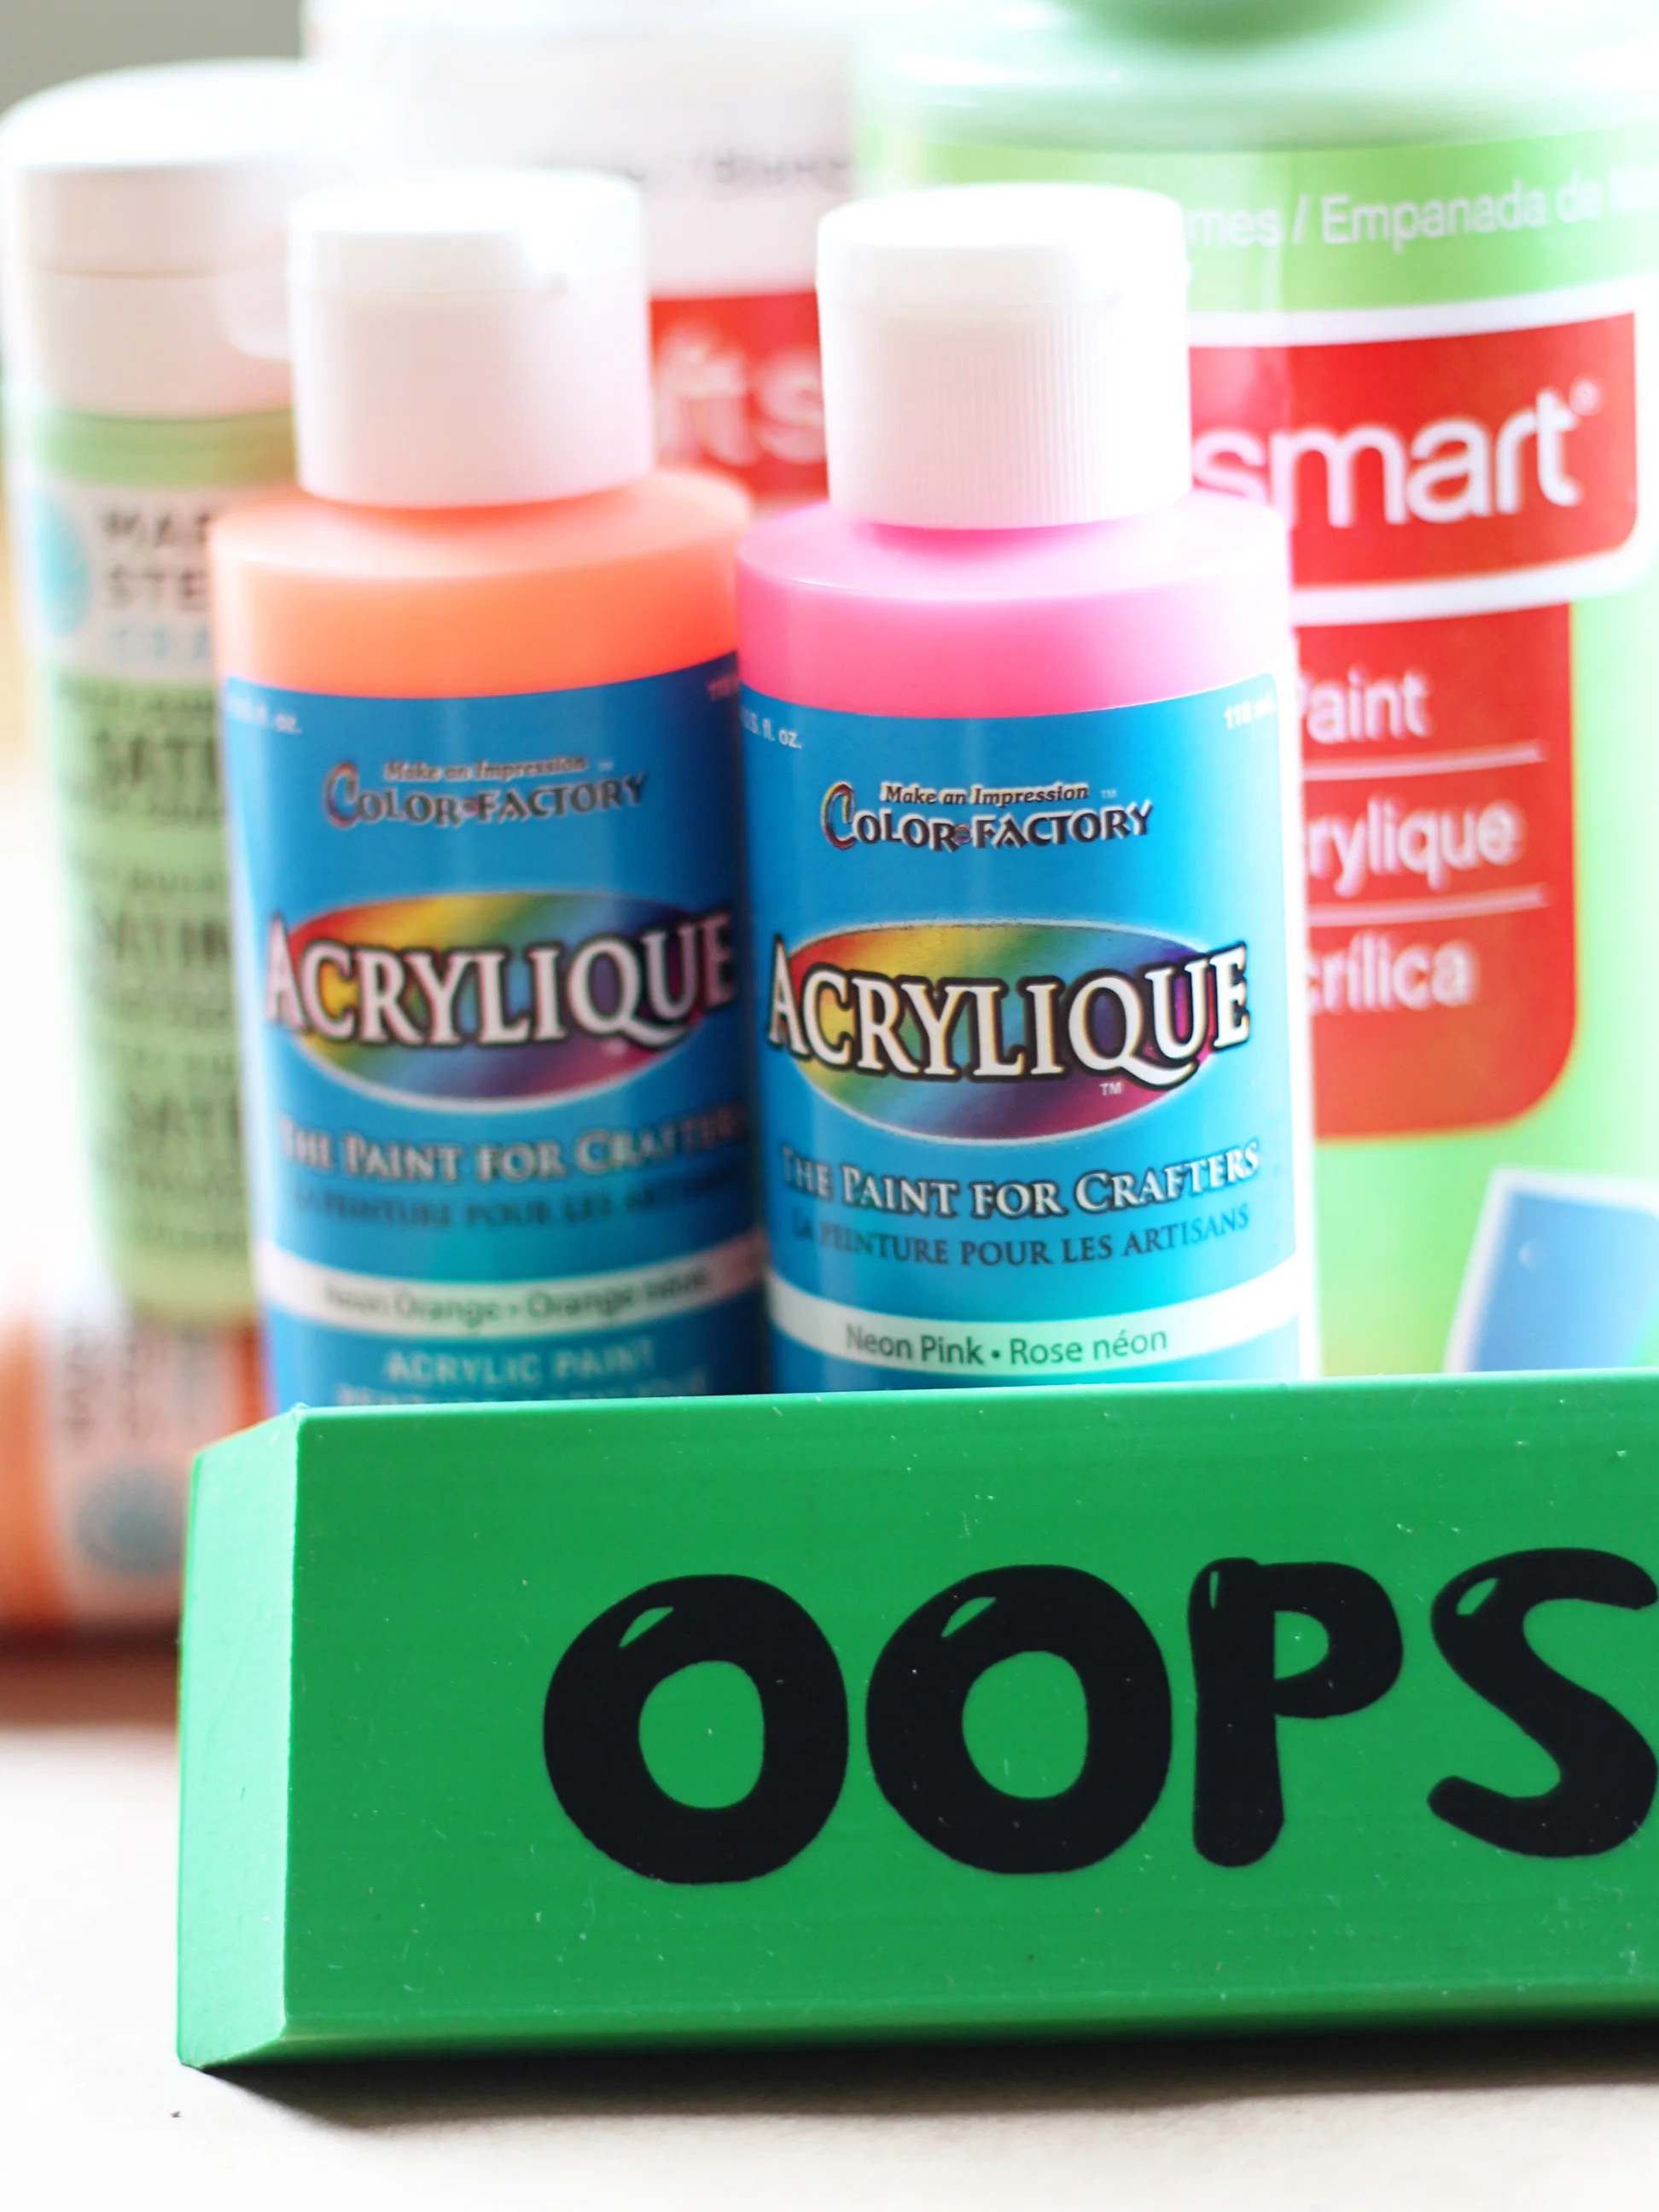
Supplies Needed- Paint (note to self...don't buy paint at the dollar store..it's junk!!!!), paint brush, eraser or erasers, exacto knife, pen, & kraft paper.
Directions-
- Draw your stamp on to the eraser. We (Rachel) cut the massive eraser into three pieces to make three stamps.
- Cut out the eraser from around your drawing so your drawing protrudes.
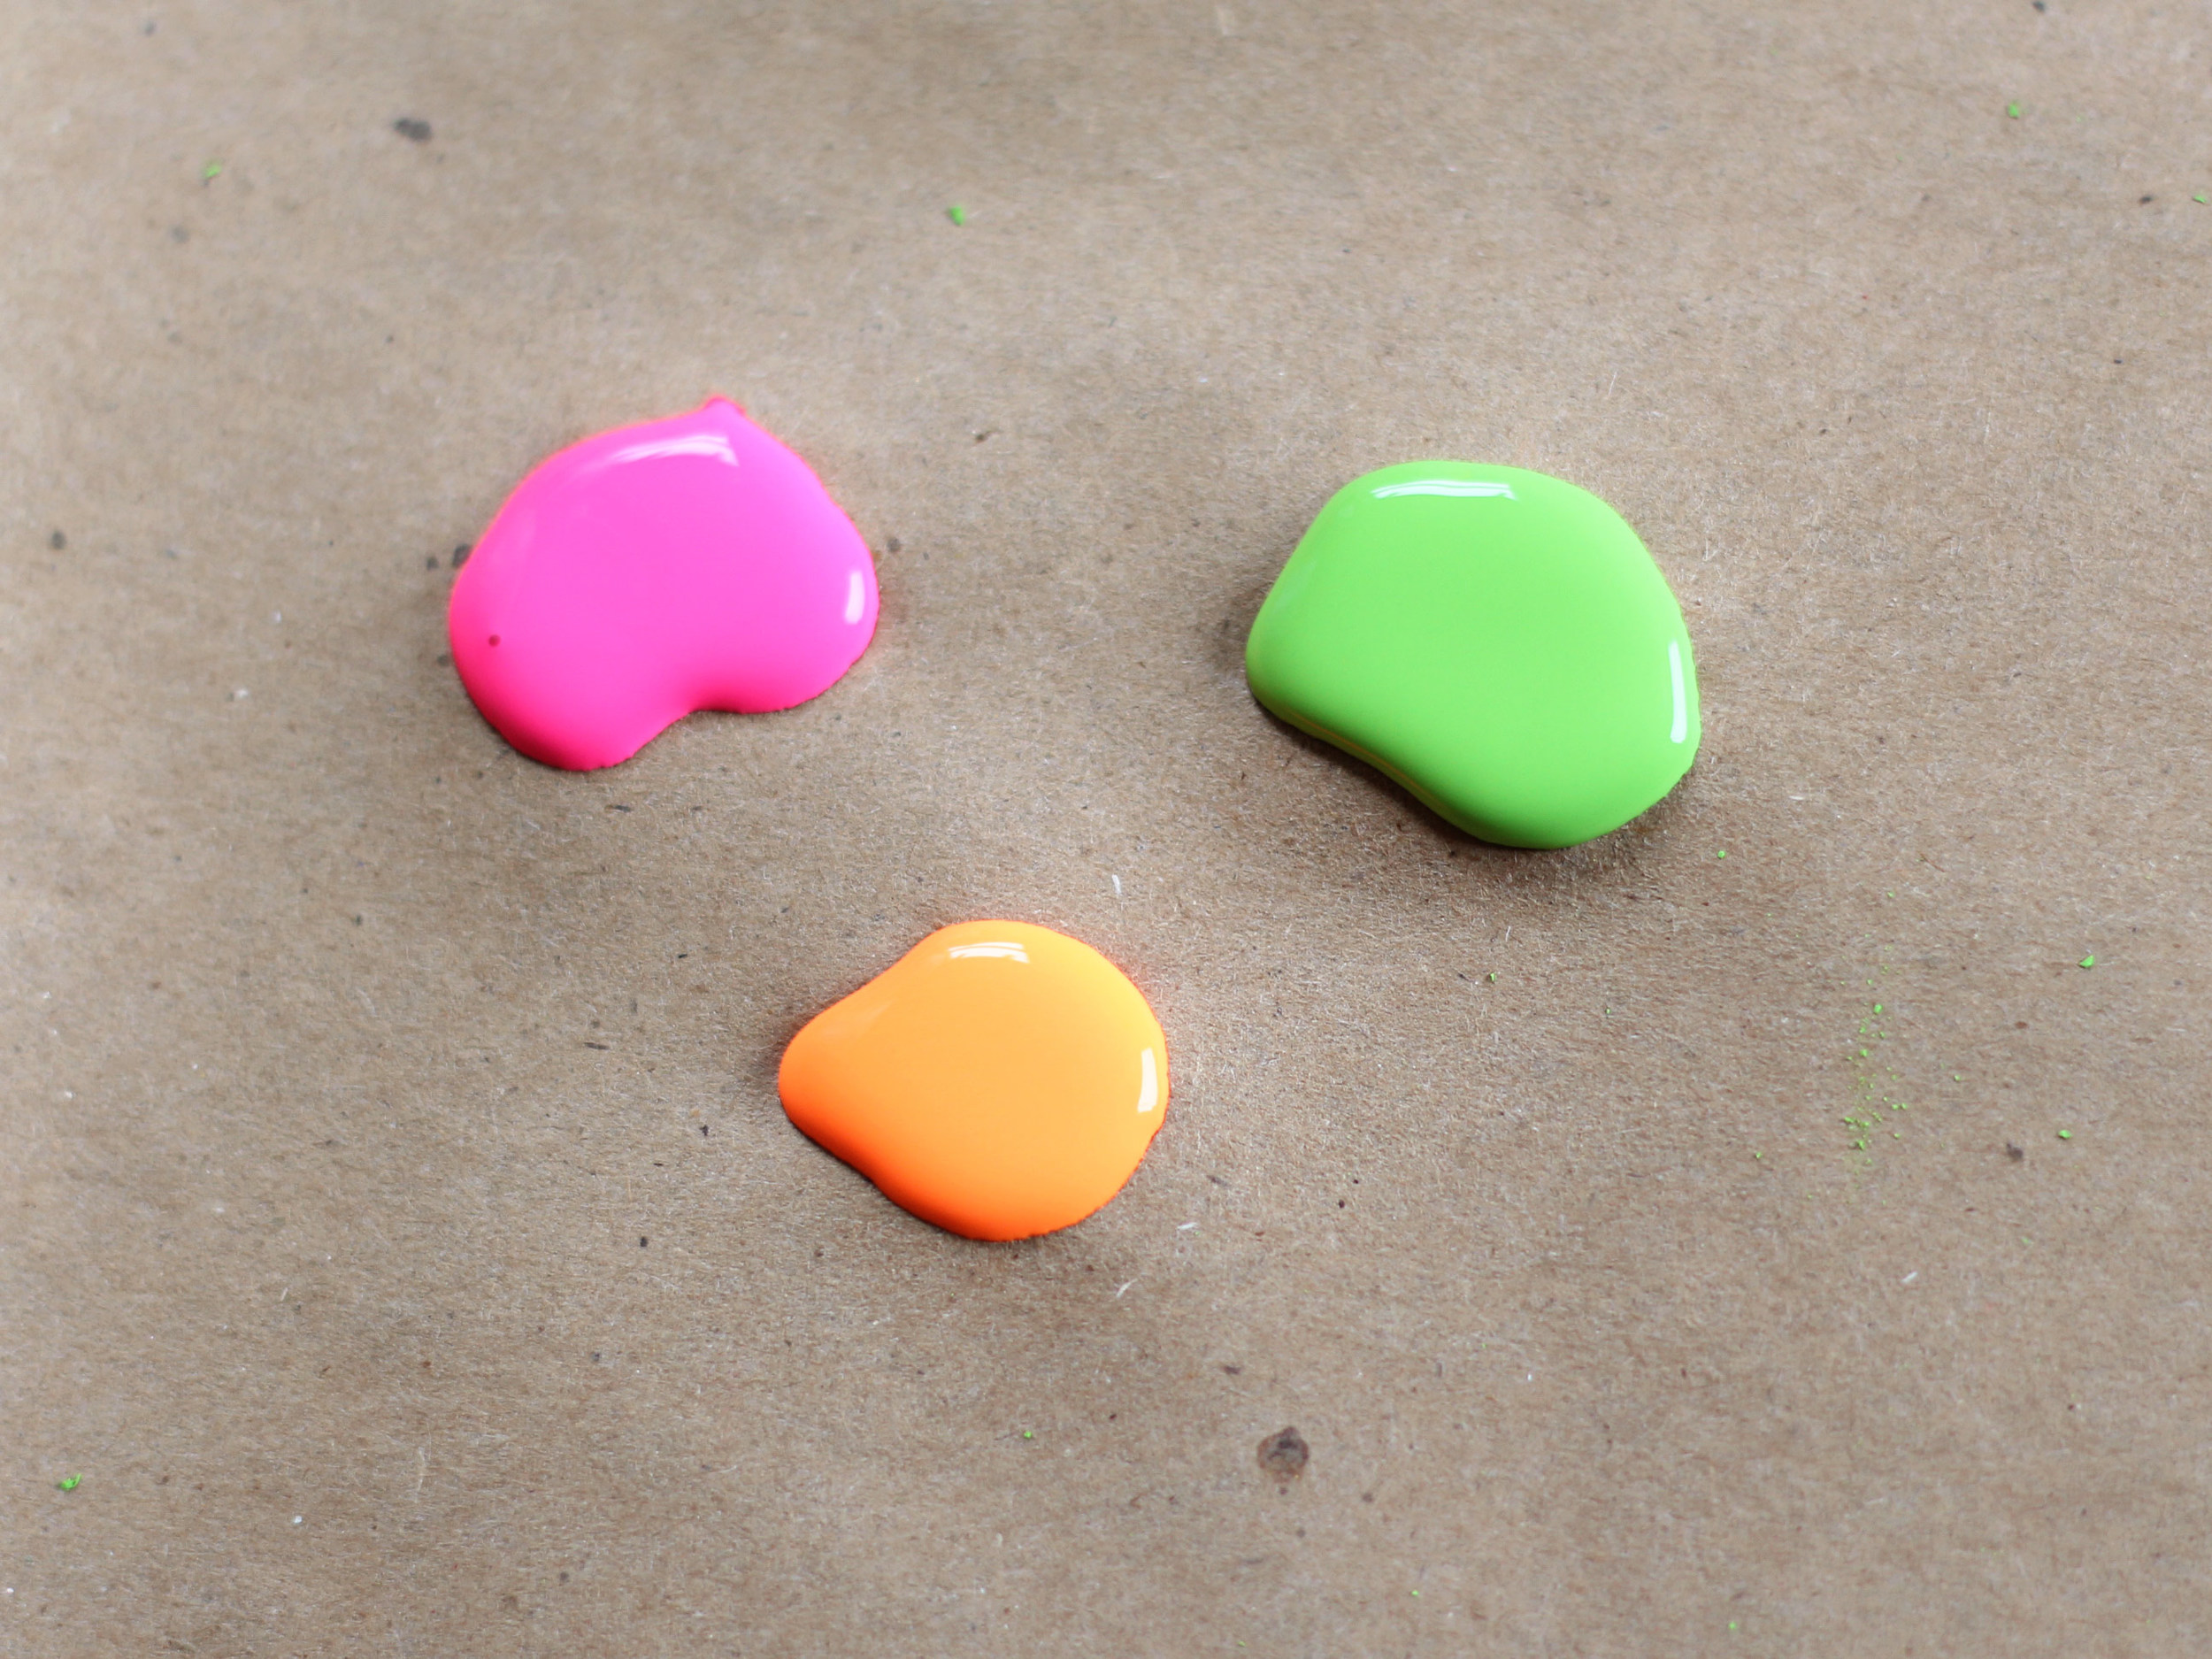
- Paint the stamp.
- Stamp the stamp on to kraft paper. Press firmly!
- Let it dry and then use it to wrap up prezzies for special people in your life!


Fun? Fun. And how cute is that confetti around the presents? I got it from this rad girl at Alt Summit named Gilit who runs this store called The Bannerie. Check her out!
Hope you had an awesome Canada day and Happy long weekend to all you USA friends out there! We're heading down to Cali for two weeks on Saturday....soooo stoked!!!
Stay gold,
s.s.♥︎.
EYEBROW TUTORIAL

So yesterday I shared my favourite brow tools and today I'll show you how to use them!
Here I am with full makeup except for brows...

Like I said yesterday, filling in your brows can really define your makeup aka filled brows add oomph. But watch out for too much oomph because no one wants painted on eye brows.

EYEBROW TUTORIAL-
(Grab your tools!!)
1. Use a pair of brow scissors to trim any long brow hairs (but don't over cut because it can get addicting!!)
2. Brush your brows in place.
3. Fill in your brows with Mac Brun eyeshadow.
If I'm in a hurry, I finish at this point but if you want a more dramatic look then simply do step 4 before step 3.
4. Carefully outline your brow then follow with step 3.
See what a difference it makes? If you haven't tried filling in your brows, I double doggy dare you to try it out!!
If you have any questions on what works best for your brows, ask away in the comments!
xo,
s.s.♥.
DIY // PARTY CROWNS

I have a thing about shopping. And this thing, it's kind of a deal breaker for me. So if you're planning on going shopping with me, keep this in mind... I like to take my sweet, sweet time.
In and out of Walmart in 5 minutes? Yeah, right buddy. You better believe I'm going to peruse every aisle. Don't you dare rush me. I can't enter Walmart and not check to see if Essie has released new nail polishes! It's the same with most stores I enter into, especially dollar stores. Don't even get me started on dollar stores. I'm always amazed at the selection of products and could never ever spend less than 20 minutes in one. Please tell me I'm not alone in my sss (slow shopper syndrome)!!
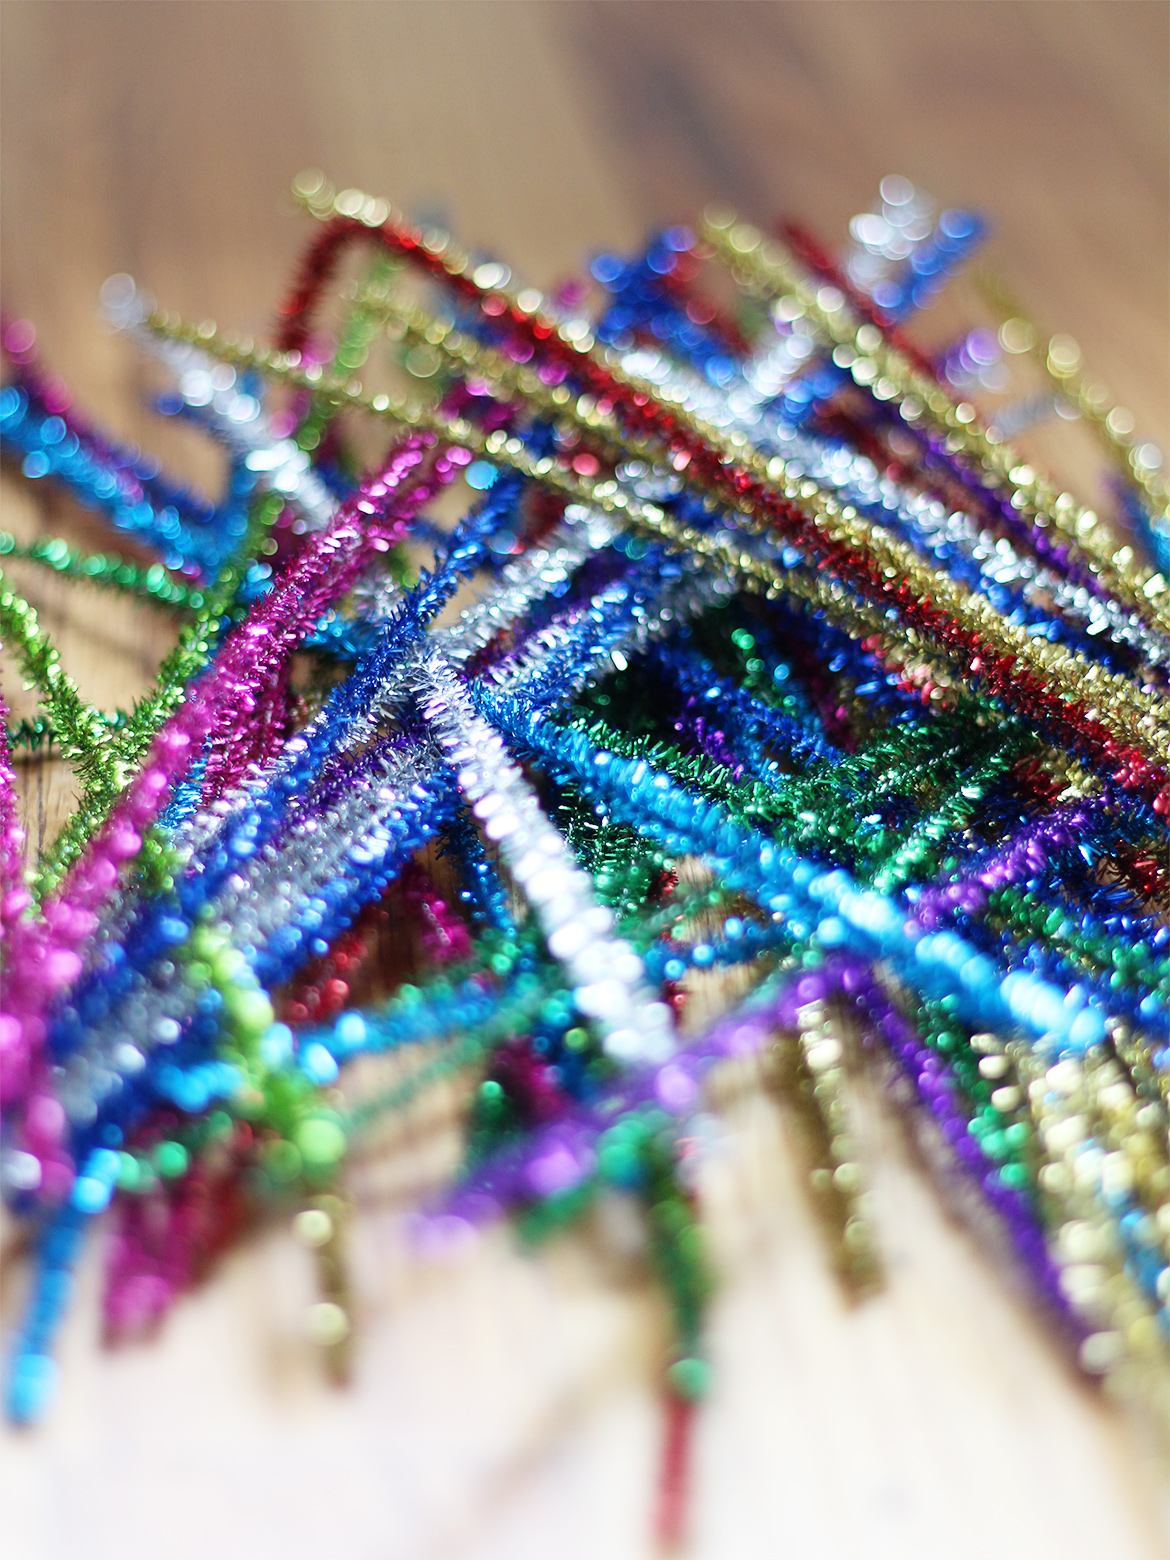
Speaking of dollar stores, I hit up the downtown one (once you get over the weird smell, it's actually pretty great) on my lunch break last Thursday and I struck gold. Pure gold people. I found sparkly pipe cleaners, glitter washi tape and a legit garden shovel. Oh and my total was $7 (and there were 3 packs of sparkly pipe cleaners in that order). Yep, pure gold.
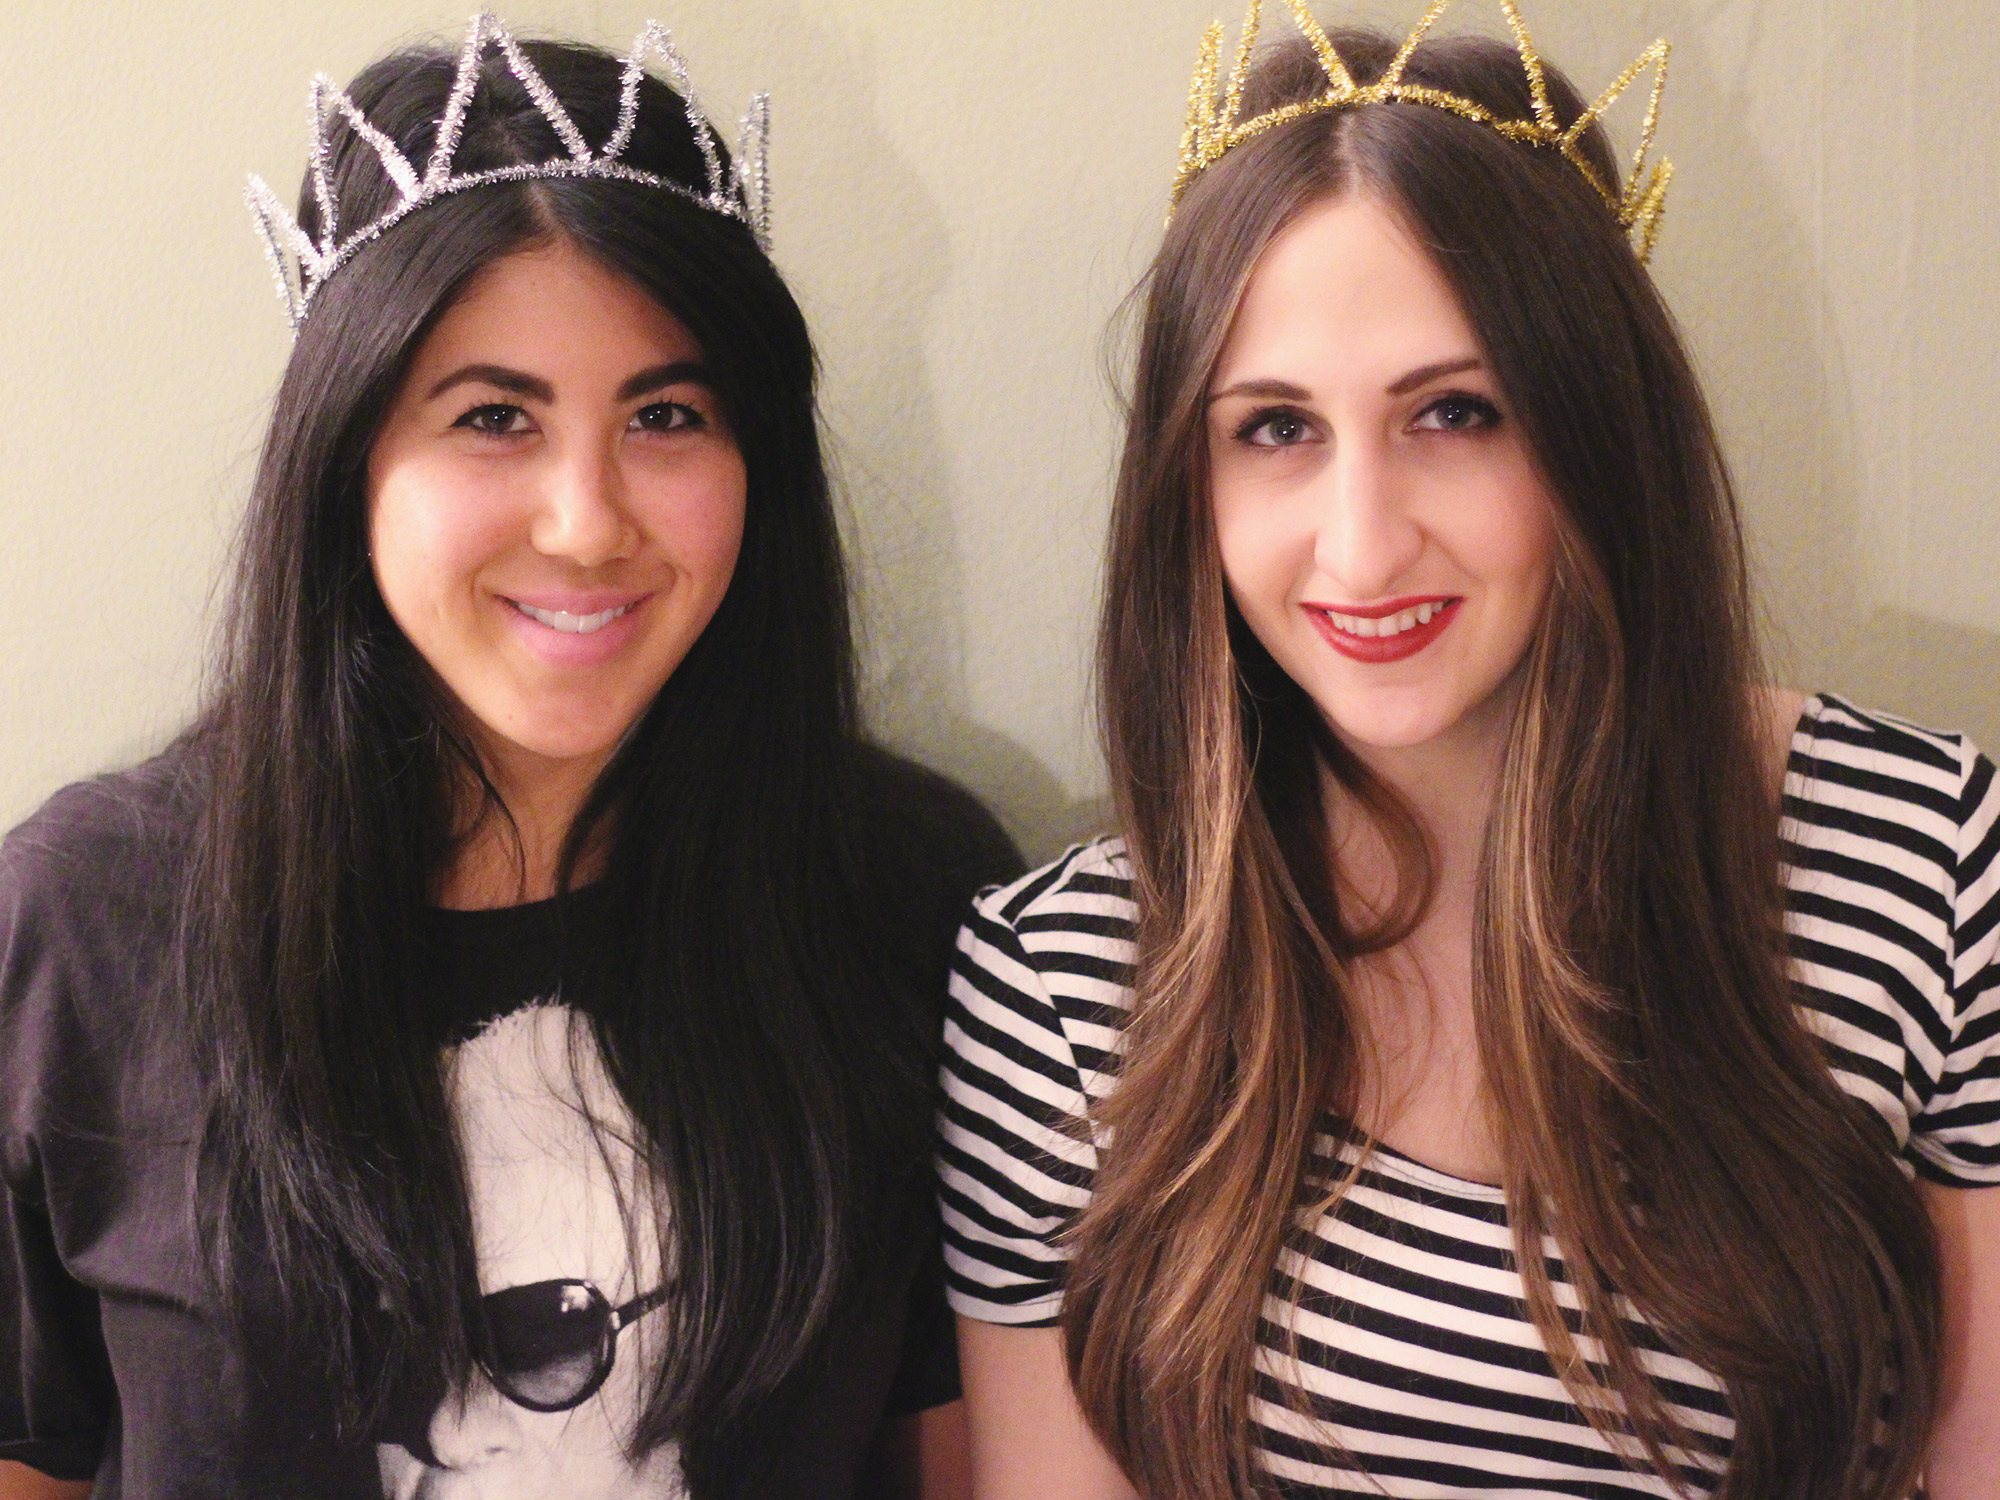
With the pipe cleaners, myself and craft guru, Rachel constructed crowns for our friend Cristina's birthday.


They were insanely easy and super cute.
Directions:
1. Grab two pipe cleaners, twist the ends together and shape into a circle to make the base of the crown.
2. Take five pipe cleaners and cut them in half.
3. Fold the pieces in half and pull the ends out to shape a triangle.
4. Attach triangle onto base of crown by twisting the ends down.
5. Repeat around entire crown.
6. Razzle dazzle everybody you come in contact with. Huzzah!
So cute hey? We made 10 in about 30 minutes while eating doritos and watching pan am. Pure bliss right thurrr.
You can also make tiaras and heart crowns. Find those directions at this sweet tutorial.
Happy Monday!
xo,
s.s.♥.
DIY // GOLD GLITTER SHOES
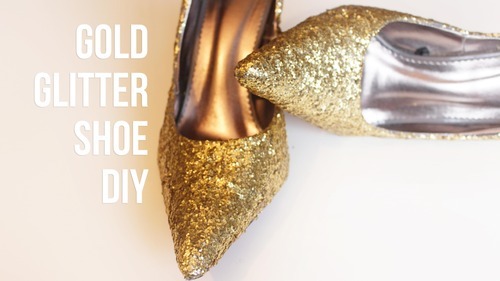
as you probably know, i have a slight obsession with gold. all gold everything is slowly becoming one of my mottos. i also am passionate about glitter. so let’s combine the two and add some shoes to the mix and there ya go, we have gold glitter shoes.

did you know you can pretty much gold glitter anything? and it’s incredibly easy as well! just follow the steps below…
supplies needed: shoes, sandpaper, mod podge, glitter, paint brushes, masking tape, bowl
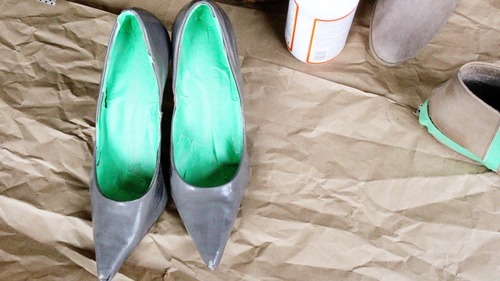
1. sandpaper shoe if using patent leather.
2. tape off everywhere you do not want glitter!
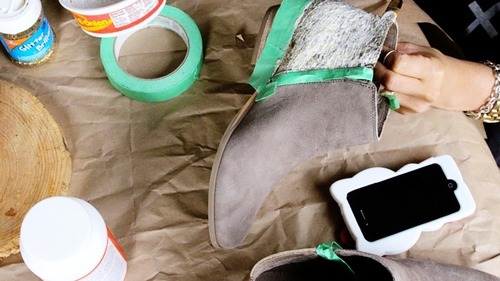
3. mix glitter and mod podge together in a plastic bowl until a thick glittery paste has developed.
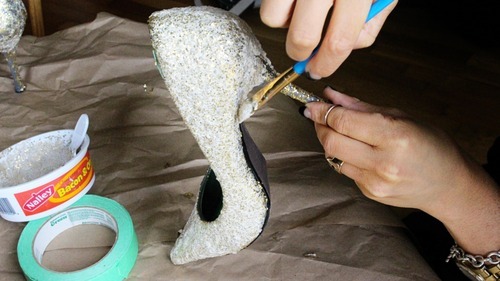
4. start painting the shoe with the mixture.
5. keep painting..
6. just keep painting…..
7. let dry. then remove tape when absolutely dry.
8. paint the bottom of your shoe with nail polish if you prefer.
9. let dry.
10. voila! glittery shoe!
couldn’t resist sneaking this little one in…
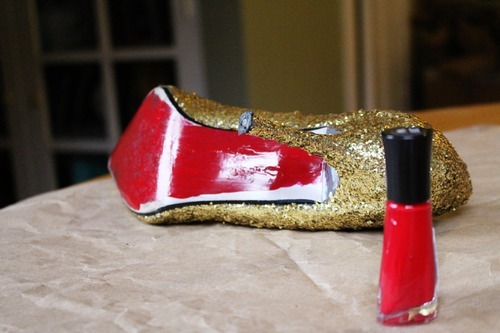

aren’t they pretty? completely transformed shoe!
ok bed time for me…we’re getting our tree tomorrow and setting up the place…sooo excited!!!!!
stay gold as always,
s.s.♥.